Getting Started - 3.2 - C200
Installing your C200 Clocking Terminal
You Will Need:
- Your C200 Clocking Terminal, backplate, and supplied power pack
- The 4 rawl plugs, 4 long screws, and 1 grub screw that came inside the box with your C200 Clocking Terminal

- An Ethernet cable, if you intend to connect the Clocking Terminal to your Local Area Network
- A drill with an 8mm drill bit
- A phillips head screwdriver
If you'd like to print this page for reference you can do so using the printer icon on the to right of the page.
1
Using the backplate as a guide, drill four holes in the mounting wall at a height of approximately 1.3 meters
2
Insert the 4 rawl plugs, one in each hole
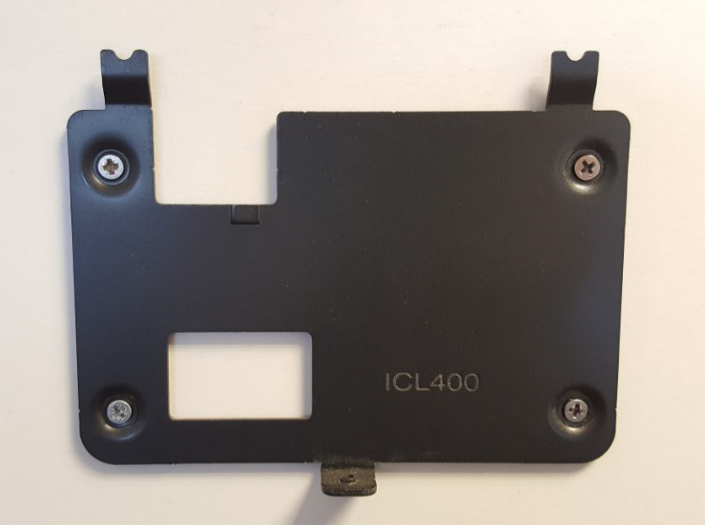
3
Screw the backplate in place using the 4 long screws
|
 |
|
4
Plug the power supply into the connection on the underside of the Clocking Terminal
5
Plug the Ethernet cable into the connection on the underside of the Clocking Terminal if you would like to connect it to your Local Area Network
Please use only the power supply provided. Third party power supplies may damage the Clocking Terminal
|
 |
|
6
Mount the Clocking Terminal on the backplate
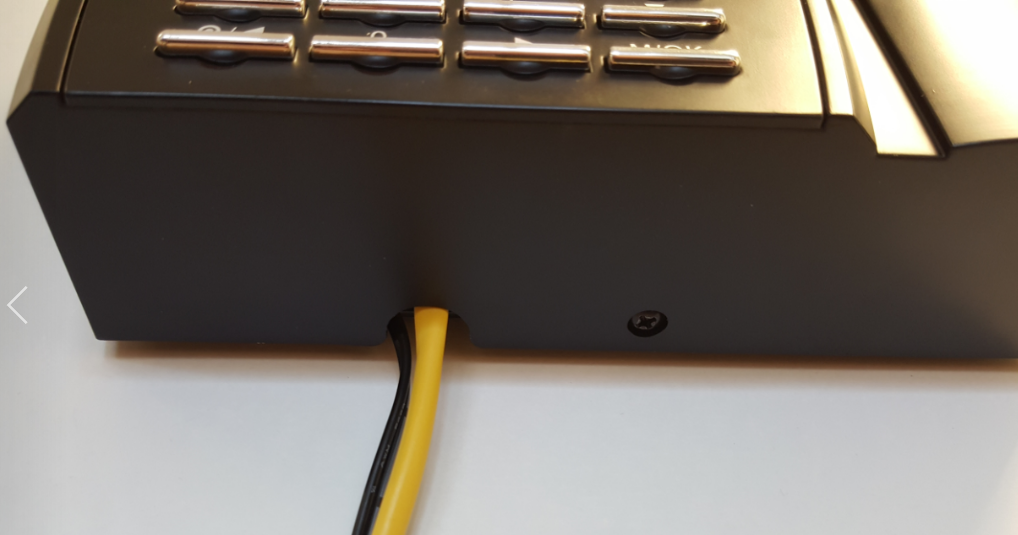
Secure the underside of the Clocking Terminal to the backplate using the grub screw
7
Finally, power the Clocking Terminal on
|
 |
|
|
Back to the Top